 OpenWiring
#14. Lists and automatic pages
All lists are calculated from the schematic: they are not filled in by hand and are always up to date.
#The Lists view
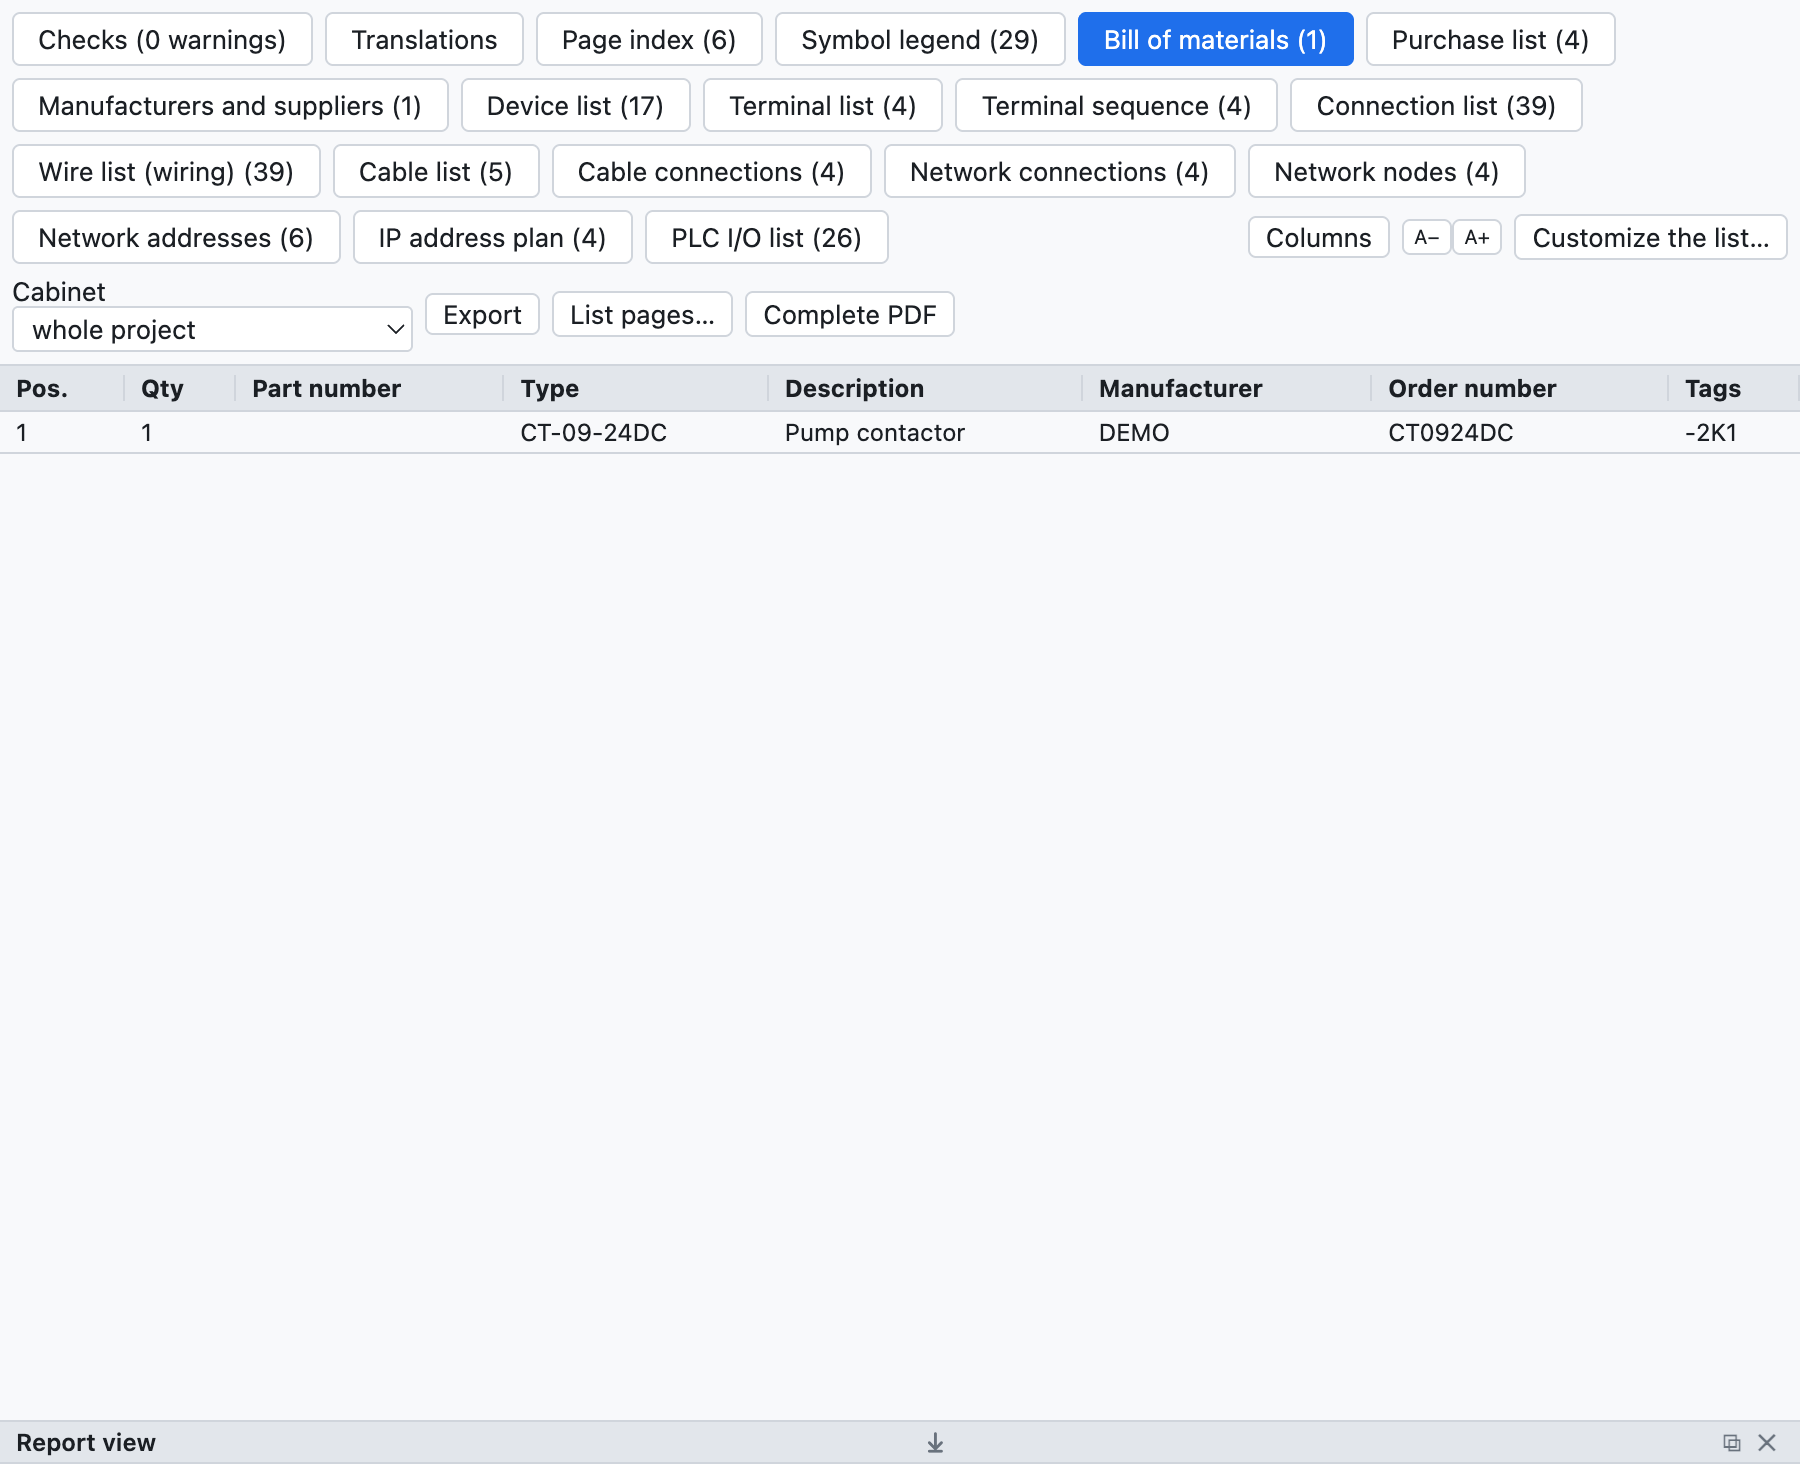
The Lists tab with the bill of materials of the example project.
The Lists tab has one sub-tab for each list; Export CSV saves the open list (separator ;, opens in
Excel), Complete PDF exports the project with all the lists at the end.
| List | Content |
|---|---|
| Page index | number, title, type and location of each page |
| Bill of materials | parts grouped by code (or by manufacturer + order number), quantity, tags |
| Purchase list | parts by manufacturer with the unit of measure, loose wire, cables |
| Device list | full tag, description, technical data, manufacturer, codes, elements and positions |
| Terminal list | terminals with external and internal destinations, wire numbers, jumpers |
| Connection list | every connection: wire number, from, to, pages, cross-section, colour, cable |
| Wire list (wiring) | every wire with cross-section, colour, ferrules and estimated length |
| Cable list, Cable connections | see chapter 9 |
| Connector list | pins, sides, wires |
| Network connections, Network nodes, IP address plan | see chapter 11 |
| PLC I/O list | see chapter 10 |
Empty lists do not appear. A click on a position (/2.4) takes you to the element.
#Purchase list
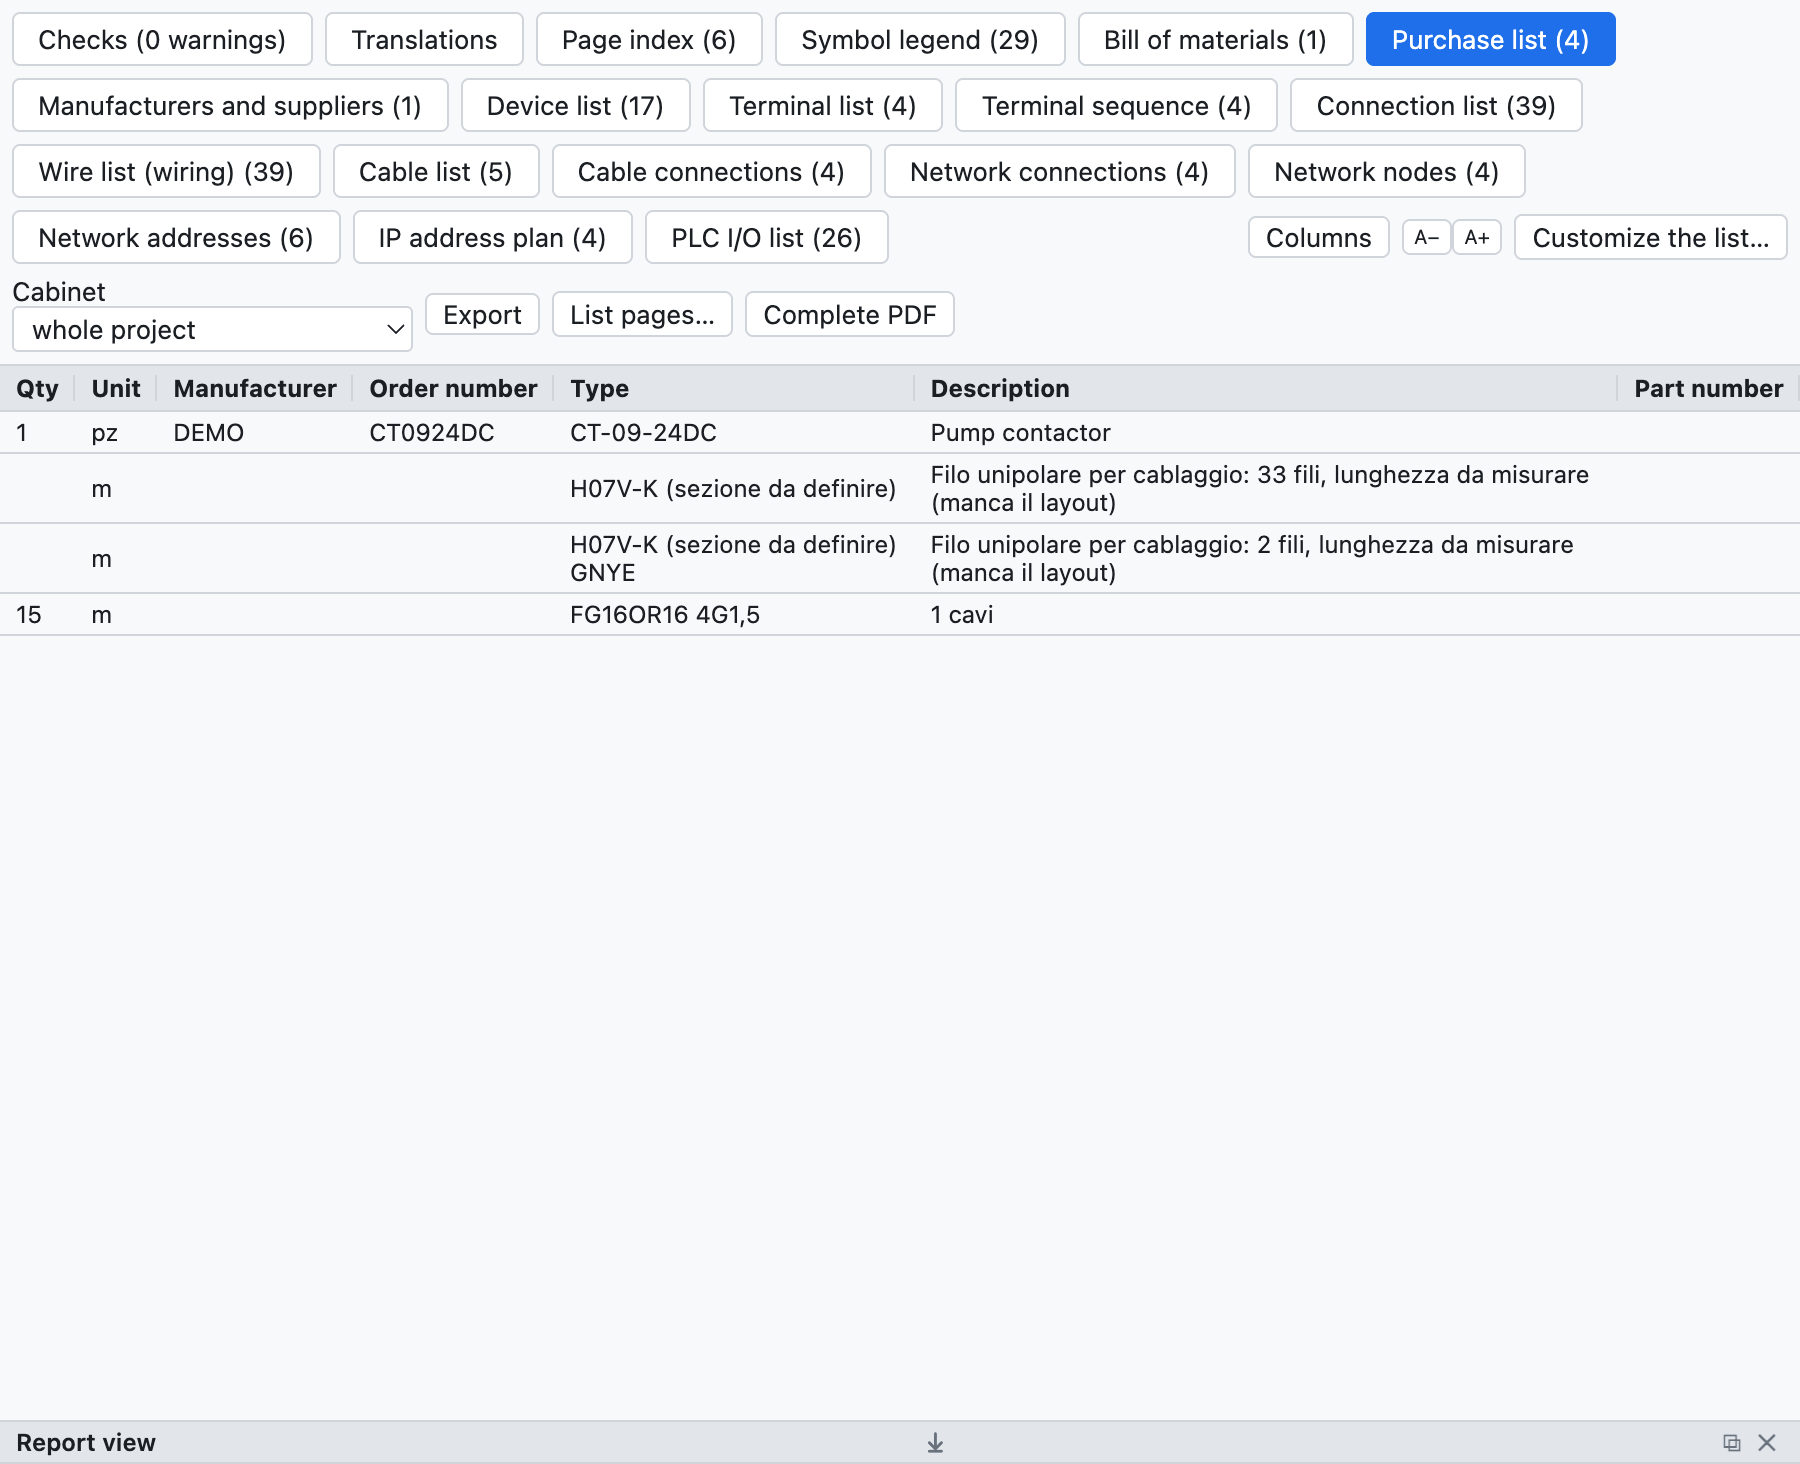
The purchase list of the example project.
The purchase list is used to order the material:
- the parts of the bill of materials are grouped by manufacturer, so each group is an order to one supplier;
- each row has the unit of measure: pieces, or metres for cables, rails and cable ducts;
- the loose wire is summed by cross-section and colour (
H07V-K 1,5 mm² BU), in metres estimated from the cabinet layout with 10% extra; without a layout the row gives how many wires and that the length is to be measured; - cables without a part are summed by type and cross-section.
#Automatic pages
Lists become project pages with a title block, to be printed and included in the PDF.
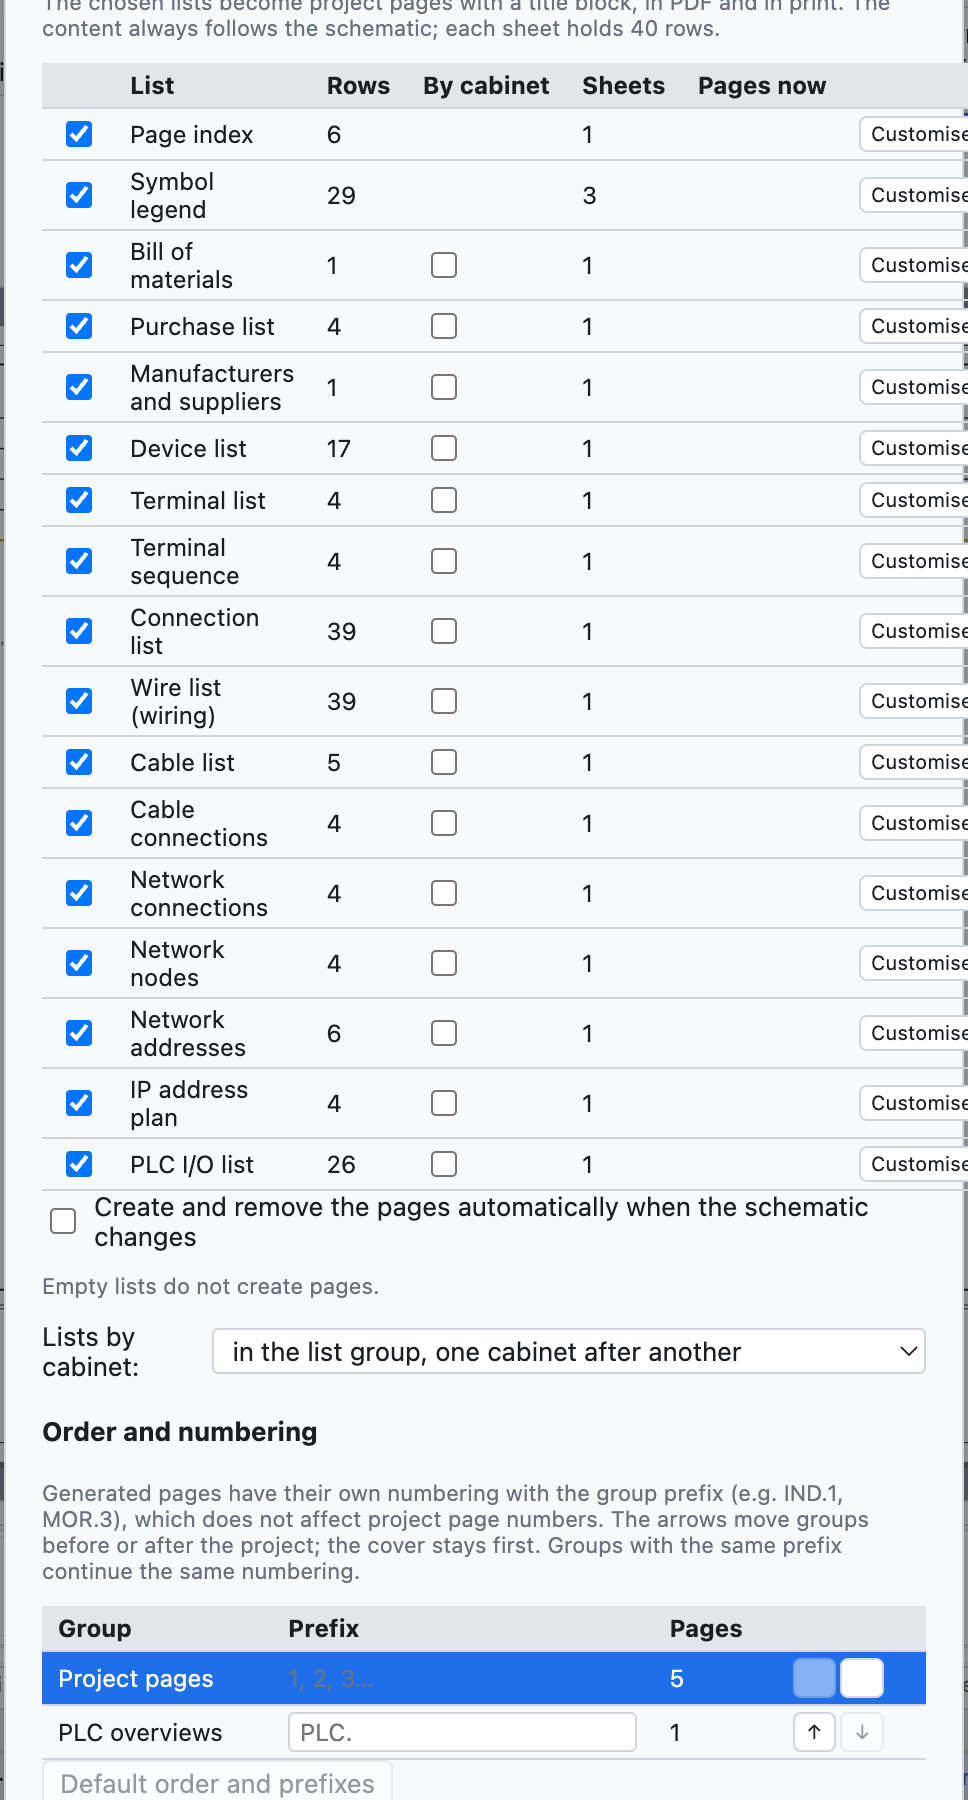
The automatic pages window: for each list the rows, the sheets needed and the pages already present.
- Insert ▸ Automatic pages (lists)…, or List pages… in the Lists view.
- Tick the lists you want as pages.
- Press Create / update the pages.
- Each sheet holds 40 rows; a longer list takes several sheets.
- The page index goes at the front, after the cover; the other lists at the end.
- The content of the pages always follows the schematic.
- With Create and remove the pages automatically when the schematic changes the number of sheets also adapts by itself: if the terminal list goes from 40 to 41 rows the second sheet appears.
- Remove all pages removes the list pages.
- Insert ▸ Update the list pages realigns the pages to the chosen lists.
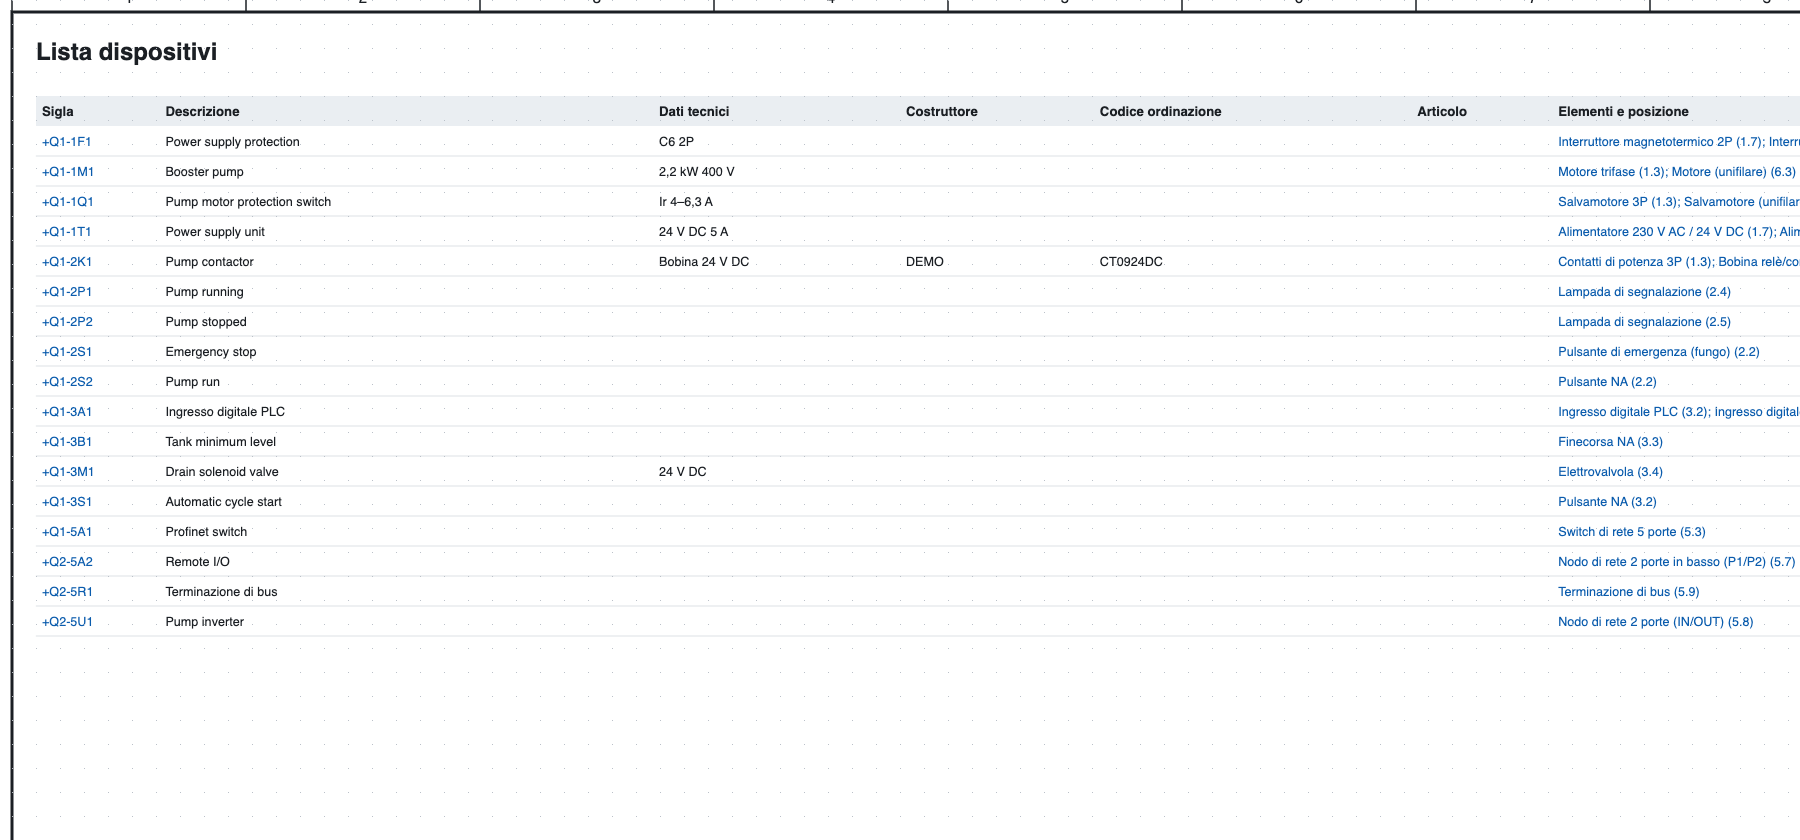
The device list as a project page.
#Marking labels
File ▸ Export ▸ M-Print PRO / GeniusPRO labels… prepares the labels for marking printers.
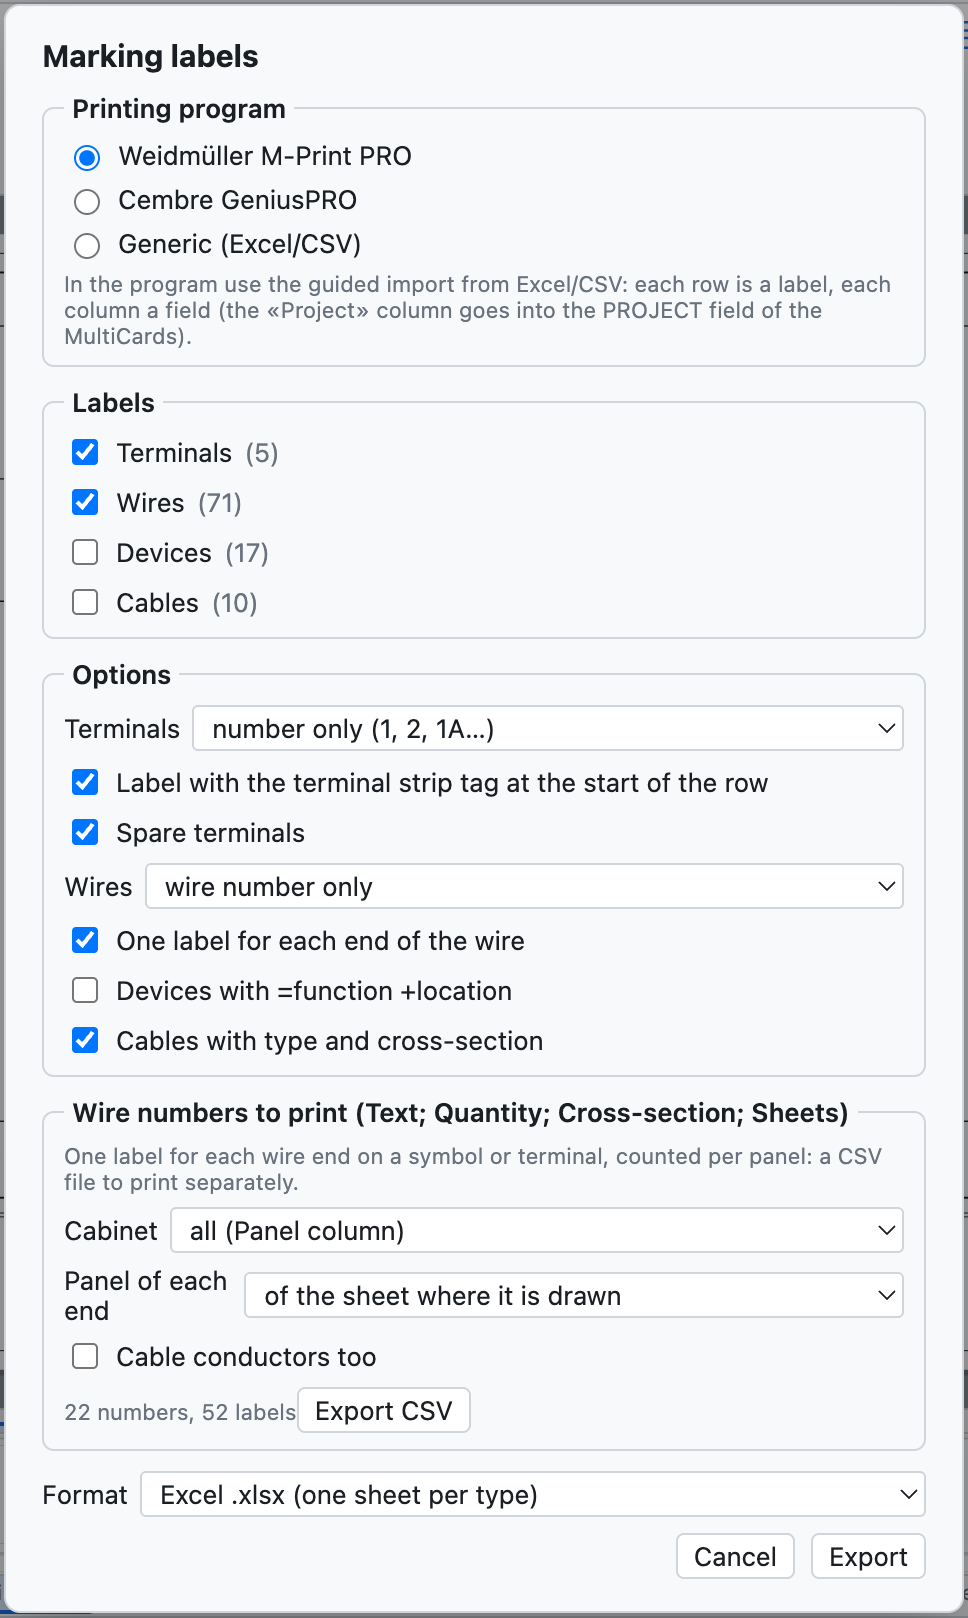
The labels window.
- Program: Weidmüller M-Print PRO (columns
Project,Text 1,Text 2…; theProjectcolumn goes into the PROJECT field of the MultiCards), Cembre GeniusPRO (columnsRiga 1,Riga 2…,Gruppo) or generic. - Labels: terminals, wires, devices, cables.
- Options: terminals with the number only or the full tag, terminal strip label at the start of the row, spares; wires with the number only or with the destination, one label per end; devices with =function +location; cables with type and cross-section.
- Format: Excel (one sheet per type) or CSV.
Both programs import Excel and CSV with a wizard in which each column is assigned to a field.
Edit this page on GitHub · OpenWiring 2.0.6 · GPL-3.0