 OpenWiring
#4. Project and pages
#Project properties
The project settings open with Project ▸ Project properties, by clicking the project name in the tree, or by deselecting everything (click an empty area): the Properties panel shows the current page and, below it, the project data.
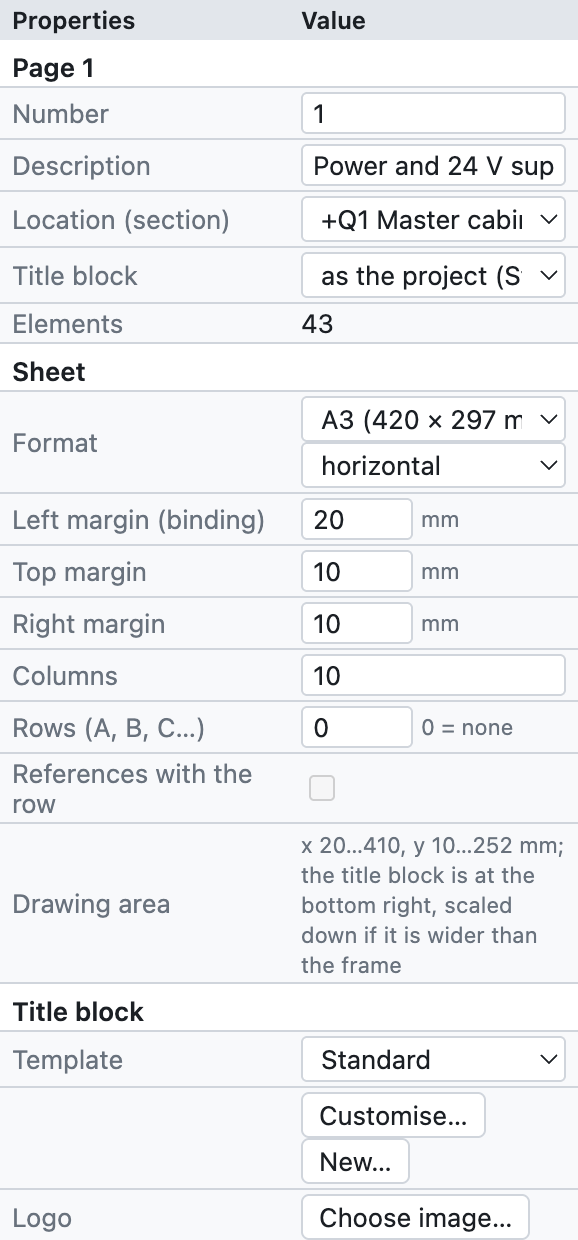
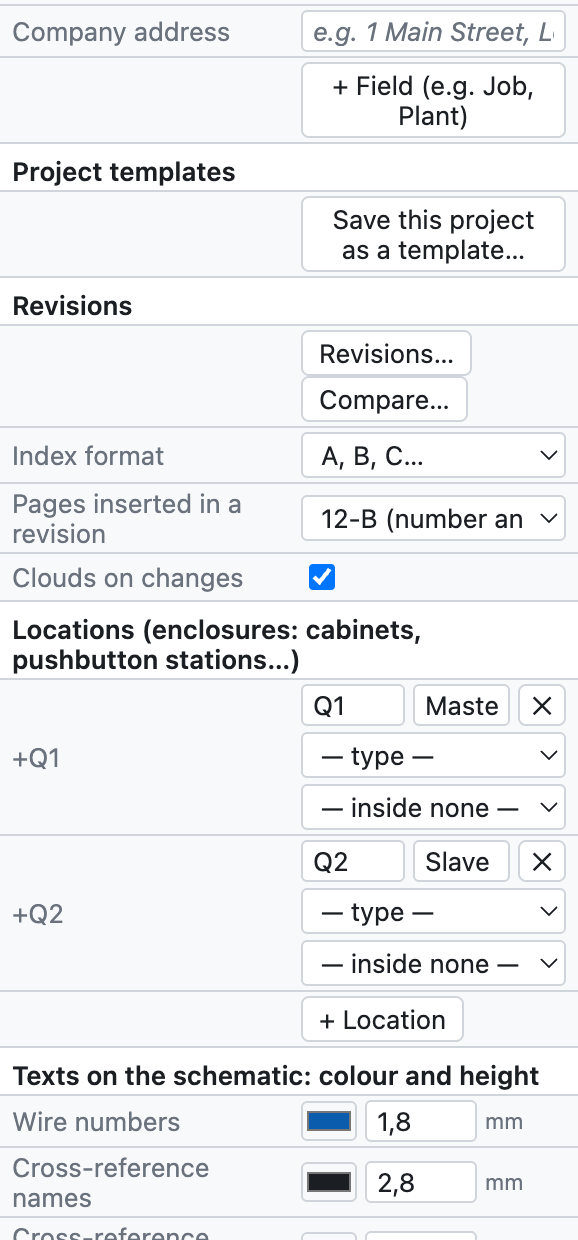
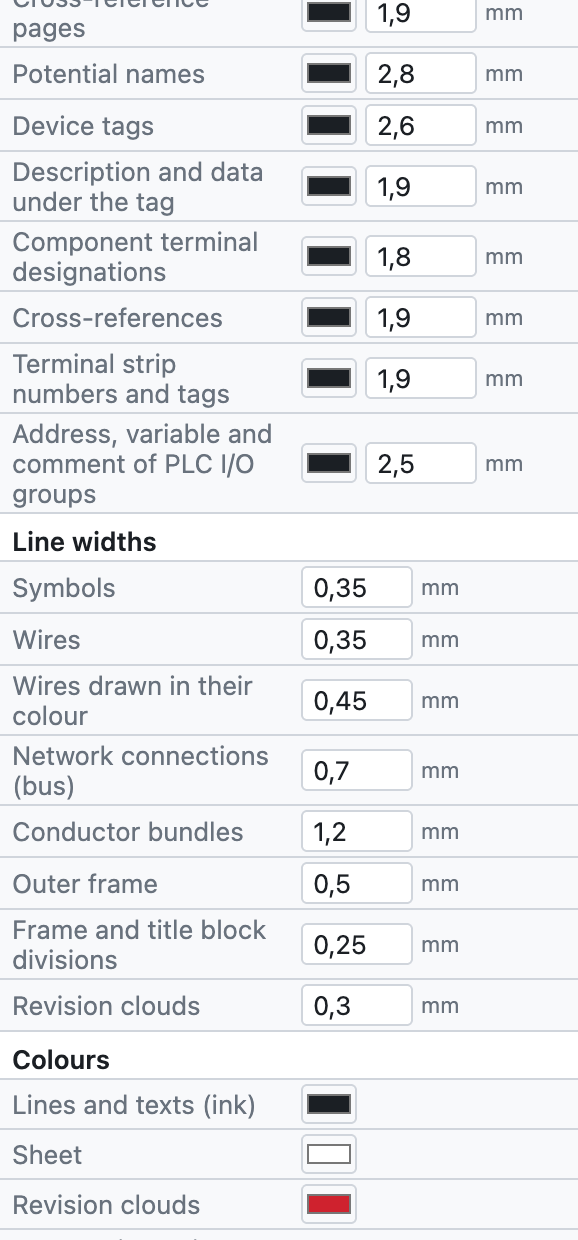
The project properties panel, from top to bottom.
| Group | Fields | See |
|---|---|---|
| Page | number, description, location, title block of the page | Pages |
| Title block | template, logo, company address, additional fields | Title block |
| Project templates | save the project as a template | Project templates |
| Revisions | new revision, comparison, clouds | chapter 15 |
| Locations | cabinets, pushbutton stations, machine side… | chapter 11 |
| Languages | schematic language and second language | chapter 16 |
| IP networks | subnets of the address plan | chapter 11 |
| Project (title block) | name, description, company, customer, author, drawing number, revision, date | below |
| Device tags | tag template, counter, contact image | chapter 6 |
| Wire numbers | visibility, cross-section and colour, coloured wires, numbering, template | chapter 6 |
| Drawing | descriptions on the schematic, grid step | below |
#Title block data
Name, description, company, customer, author, drawing number, revision and date appear in the title block of every page, on the cover and in the PDF properties. They are written only once.
#Drawing
- Descriptions on the schematic: writes the description and technical data under the device tags (can be changed for a single device).
- Grid step: 4 mm (recommended), or 1, 2, 5 or 8 mm.
#Pages
The sheet is A3 landscape (420 × 297 mm) with the frame divided into 10 numbered columns and the
title block at the bottom. The columns are used for references: /2.4 means page 2, column 4.
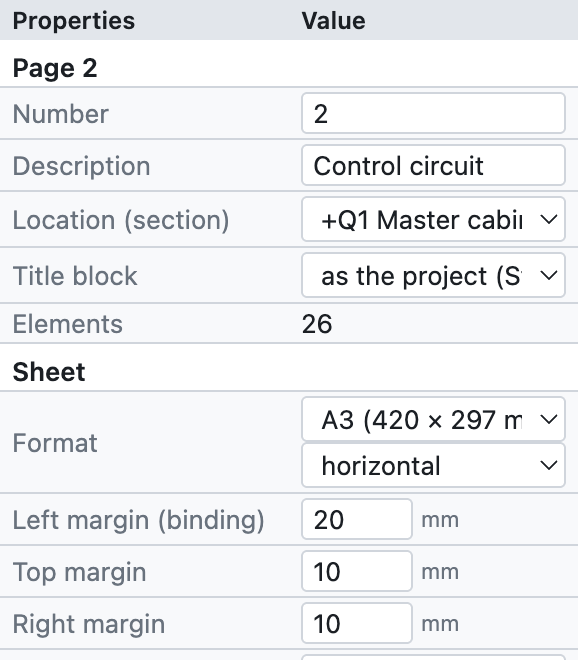
The properties of page 2 of the example project.
- Number: the name of the page, free (
1,200,10.1). It goes into the tags (-200K1), the wire numbers (200.01) and the cross-references (/200.4). - Description: the title of the page, in the title block and in the index.
- Location (section): the cabinet or location the page belongs to; the tree groups pages by location.
- Title block: the title block of the page, if different from the project one.
#Page commands
| Command | Where | Effect |
|---|---|---|
| New page | + Page below the tree, Insert ▸ Schematic page | empty page after the current one, with the next number |
| Duplicate | ⧉, Insert ▸ Duplicate the current page, right click | copy with new tags and wire numbers |
| Move | ↑ ↓ below the tree | changes the order |
| Delete | ✕ below the tree | asks for confirmation; undo with ⌘Z |
| Change page | click in the tree, PgUp/PgDn |

The Pages tab: new pages of every type, automatic pages, page order and sheet.
#Page types
| Type | How to create it | Content |
|---|---|---|
| Multi-line schematic | + Page | the actual electrical schematic |
| Single-line diagram | + Single-line | one-line symbols (chapter 11) |
| Network diagram | + Network | nodes and bus connections between cabinets (chapter 11) |
| Cabinet layout | + Layout | mounting view of the plate (chapter 12) |
| Cover | + Cover | title, data, revisions, signatures |
| PLC overview | PLC view ▸ Overview pages | generated (chapter 10) |
| Terminal strip diagram | Terminal strips view ▸ Generate terminal strip diagrams | generated (chapter 8) |
| List page | Insert ▸ Automatic pages | generated (chapter 14) |
Generated pages update by themselves: their content always comes from the schematic.
#Title block

The standard title block: company, project with drawing number and revision, page title, customer, date and author, page number.
In the Title block group of the properties:
- Template: Standard, With revision table (the last three revisions), Compact, the six detailed title blocks (ISO 7200, Detailed industrial, Machine EN 60204-1, Building installation DM 37/08, Switchboard EN 61439, Automation with signatures, described in chapter 13), or a custom title block. Customise… opens the template in the editor, New… creates one from scratch (see chapter 13).
- Logo: a PNG, JPG or SVG image.
- Company address: below the company name.
- + Field: additional fields with a name and a value, for example Job or Plant.
Choosing a template that uses its own fields (for example
{campo:Matricola}) makes those fields appear by themselves in the project properties.
Each page can have a different title block from the rest of the project (Page properties ▸ Title block).
#User-defined properties
Project ▸ User-defined properties… opens the list of the project's own properties, in addition to the included ones: for example the customer's job number, an order number or an internal code. For each property you give:
- the identifying name, with at least one dot (for example
Ditta.Commessa); - the displayed name;
- what it is assigned to: devices, pages, connections, project or parts;
- the type, the unit and the category;
- a selection list (values separated by
;) and, if needed, Do not use to set it aside without deleting it.
The values are written in the Properties of the objects the property is assigned to. For devices they also
appear as columns in the Devices tab and in Excel; in title blocks they are used with the {prop:name}
placeholder (chapter 13).
The list can be exported and imported as XML. The import is tolerant: it accepts names in English, German or Italian and texts in several languages; properties with an invalid identifying name are discarded and the program says how many.
#Cover
+ Cover adds page 0 at the beginning of the project with logo, title, description, project data, revision table and Drawn, Checked, Approved boxes. It updates by itself with the project data.
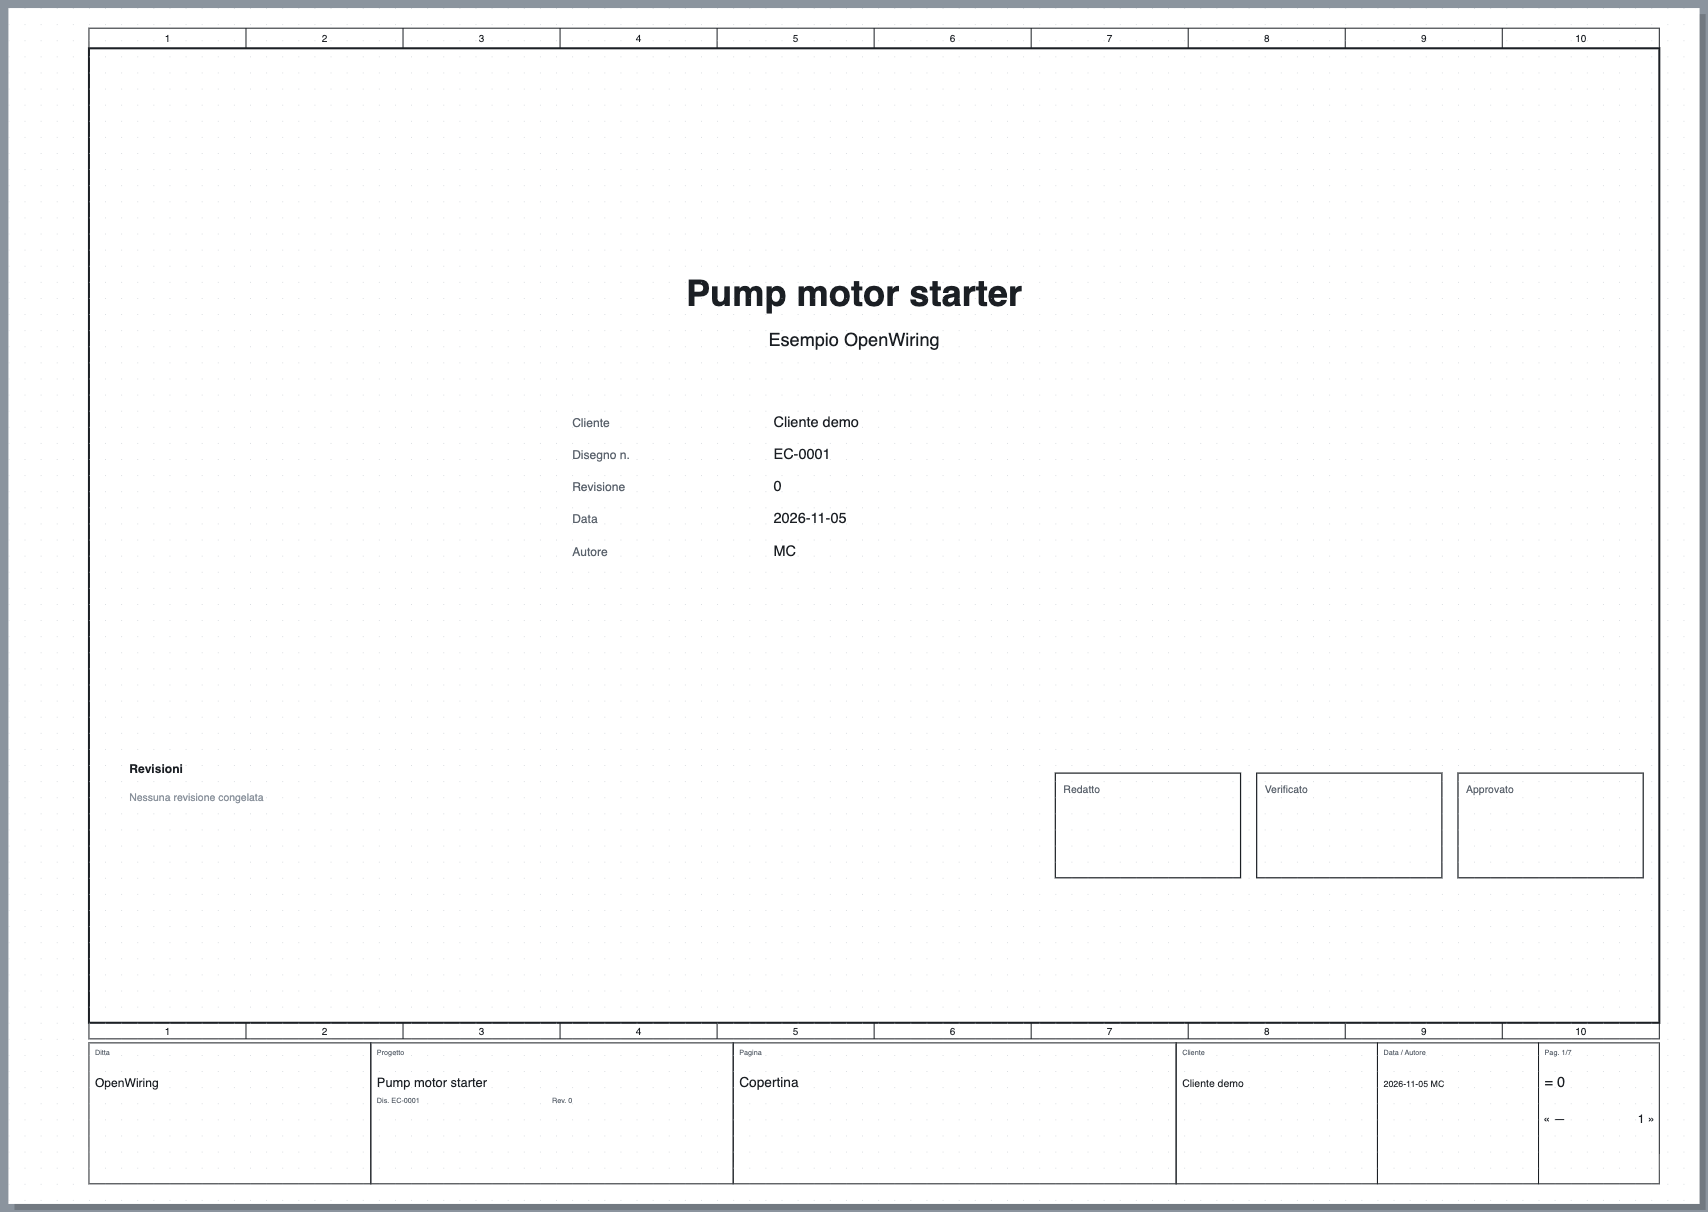
The cover of the example project.
#Project templates
A template keeps settings, title block, logo, locations and cover, without the schematics.
- Prepare a project with your company's settings.
- Project ▸ Save as template… and give it a name, for example
Workshop standard. - From then on File shows New from template «Workshop standard».
Templates stay on the computer, available for all projects.
Edit this page on GitHub · OpenWiring 2.0.6 · GPL-3.0